2. Multi-Color Recognition Experiment
About 3 min
Routine Code
import sensor
import image
import time
import lcd

# Initialize LCD
lcd.init()
# Initialize sensor
sensor.reset()
sensor.set_pixformat(sensor.RGB565)
sensor.set_framesize(sensor.QVGA)
sensor.skip_frames(time = 100)
sensor.set_auto_gain(False)
sensor.set_auto_whitebal(False)
# Frame rate clock
clock = time.clock()

# Box parameters
r = [(320//2)-(50//2), (240//2)-(50//2), 50, 50]

# Store LAB thresholds for multiple colors
color_thresholds = [
    (31, 69, 27, 58, 14, 36),# Red
    #(20,80,20,62,20,35),


    #(49, 74, -26, 48, 15, 55),# Green
    (14, 61, -39, -6, 0, 14),

    (14, 66, 1, 38, -56, -12),# Blue
    #(21,50,-7,8,-35,-11),

    (49, 77, -8, 52, 16, 60),# Yellow
    #(65, 78, -10, -5, 38, 50),
]

color_strings = ['Red', 'Green', 'Blue', 'Yellow']

print("Start Color Recognition...")

# loop
while True:
    # Start timing for FPS calculation
    clock.tick()
    # Capture an image from the sensor
    img = sensor.snapshot()
    # Iterate over multiple colors
    for color_idx, threshold in enumerate(color_thresholds):
        # Iterate over color blobs found in the image
        blobs = img.find_blobs([threshold], pixels_threshold=100, area_threshold=100, merge=True, margin=10)
        # Check if any blobs were found
        if blobs:
            # Draw bounding boxes
            for blob in blobs:
                color_new = (255 , 255,255)
                if color_idx == 0 :
                    color_new = (255 , 0,0)
                elif color_idx == 1:
                    color_new = ( 0,255 ,0)
                elif color_idx == 2:
                    color_new = ( 0,0,255)
                elif color_idx == 3:
                    color_new = ( 255,255,0)
                img.draw_rectangle(blob.rect(), color=color_new,thickness = 3)
                img.draw_cross(blob.cx(), blob.cy(), color=color_new)
                img.draw_string(blob.cx() + 10, blob.cy() - 10, color_strings[color_idx], color=color_new)
    # Display on LCD
    lcd.display(img)
    # Print FPS
    print(clock.fps())
Experiment Preparation
- First transfer model files to the TF card, then insert the TF card into the K210 module's TF card slot. For detailed steps, see Transfer Model Files to TF Card.
- Prepare objects with distinct colors.
- Connect the K210 to your computer via USB.
- Open CanMV IDE and run the routine code above.
Experiment Results
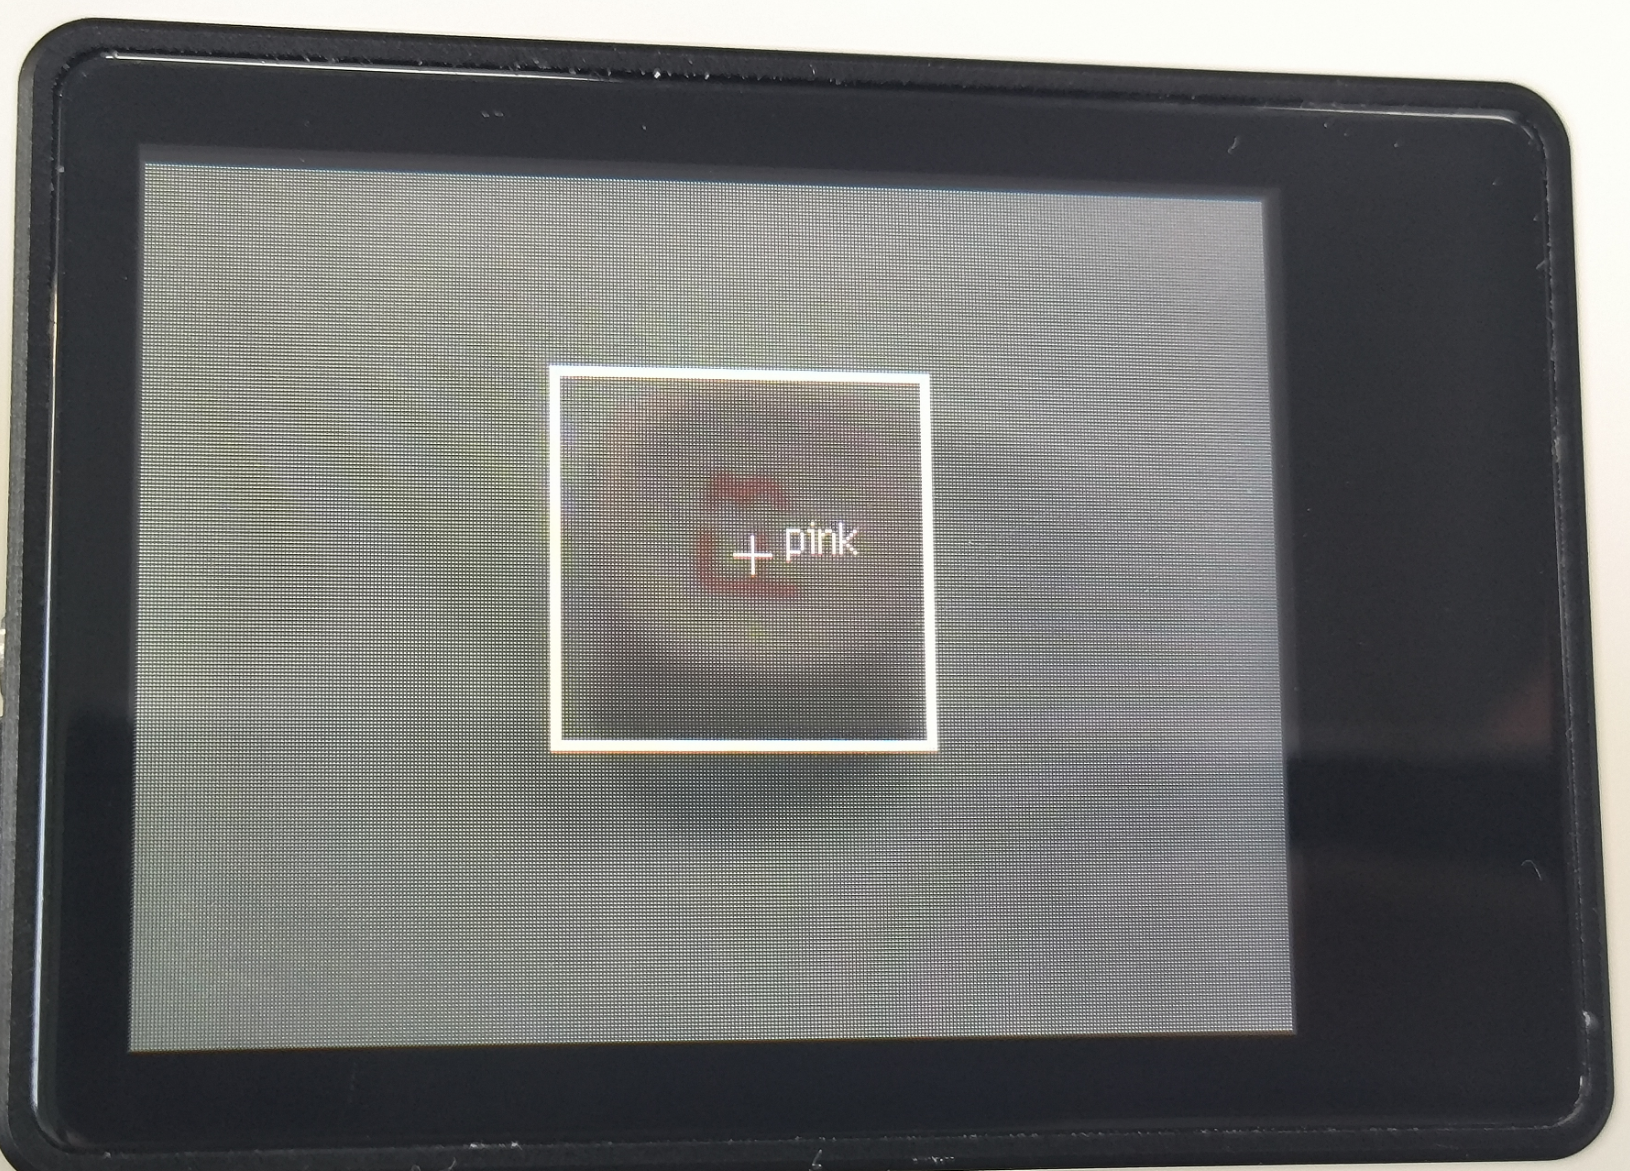
- After system initialization completes, the LCD displays the camera feed and begins recognizing colors in the scene, displaying recognized colors on screen.

- Multi-color recognition analyzes LAB color values and compares them against LAB values captured by the camera. Matching colors are outlined and labeled. This method is sensitive to ambient lighting—LAB values vary under different lighting conditions.
Routine Code Explanation
- Import the required libraries and initialize the camera and LCD display.
import sensor
import image
import time
import lcd
lcd.init()
sensor.reset()
sensor.set_pixformat(sensor.RGB565)
sensor.set_framesize(sensor.QVGA)
sensor.skip_frames(time = 100)
sensor.set_auto_gain(False)
sensor.set_auto_whitebal(False)
clock = time.clock()- Define LAB threshold ranges for each color.
color_thresholds = [
    (31, 69, 27, 58, 14, 36),# Red
    #(20,80,20,62,20,35),


    #(49, 74, -26, 48, 15, 55),# Green
    (14, 61, -39, -6, 0, 14),

    (14, 66, 1, 38, -56, -12),# Blue
    #(21,50,-7,8,-35,-11),

    (49, 77, -8, 52, 16, 60),# Yellow
    #(65, 78, -10, -5, 38, 50),
]

color_strings = ['Red', 'Green', 'Blue', 'Yellow']- Create a while loop to perform color recognition on camera frames and display results on screen.
while True:
    # Start timing for FPS calculation
    clock.tick()
    # Capture an image from the sensor
    img = sensor.snapshot()
    # Iterate over multiple colors
    for color_idx, threshold in enumerate(color_thresholds):
        # Iterate over color blobs found in the image
        blobs = img.find_blobs([threshold], pixels_threshold=100, area_threshold=100, merge=True, margin=10)
        # Check if any blobs were found
        if blobs:
            # Draw bounding boxes
            for blob in blobs:
                color_new = (255 , 255,255)
                if color_idx == 0 :
                    color_new = (255 , 0,0)
                elif color_idx == 1:
                    color_new = ( 0,255 ,0)
                elif color_idx == 2:
                    color_new = ( 0,0,255)
                elif color_idx == 3:
                    color_new = ( 255,255,0)
                img.draw_rectangle(blob.rect(), color=color_new,thickness = 3)
                img.draw_cross(blob.cx(), blob.cy(), color=color_new)
                img.draw_string(blob.cx() + 10, blob.cy() - 10, color_strings[color_idx], color=color_new)
    # Display on LCD
    lcd.display(img)
    # Print FPS
    print(clock.fps())
Custom Colors
To obtain LAB thresholds for new colors, or to adjust LAB values for different ambient lighting, use the CanMV IDE tools. The following explains how to modify LAB values for your environment or add custom colors beyond those in this tutorial.
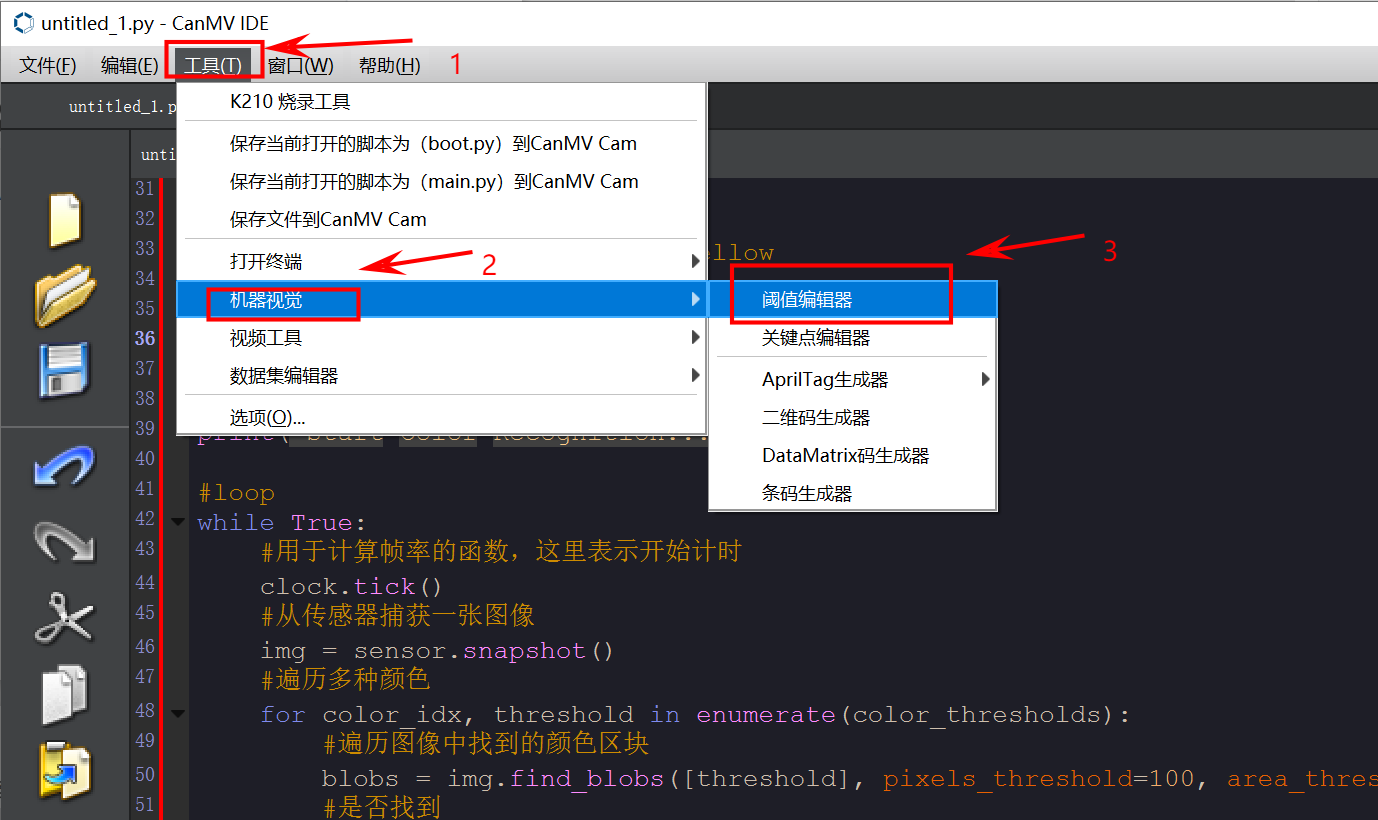
- Obtain LAB thresholds for a new color. Open CanMV IDE and click Tools → Machine Vision → Threshold Editor.
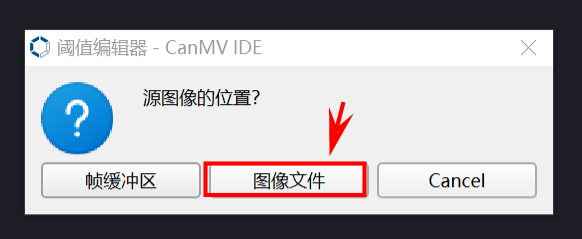
- Click Image File.
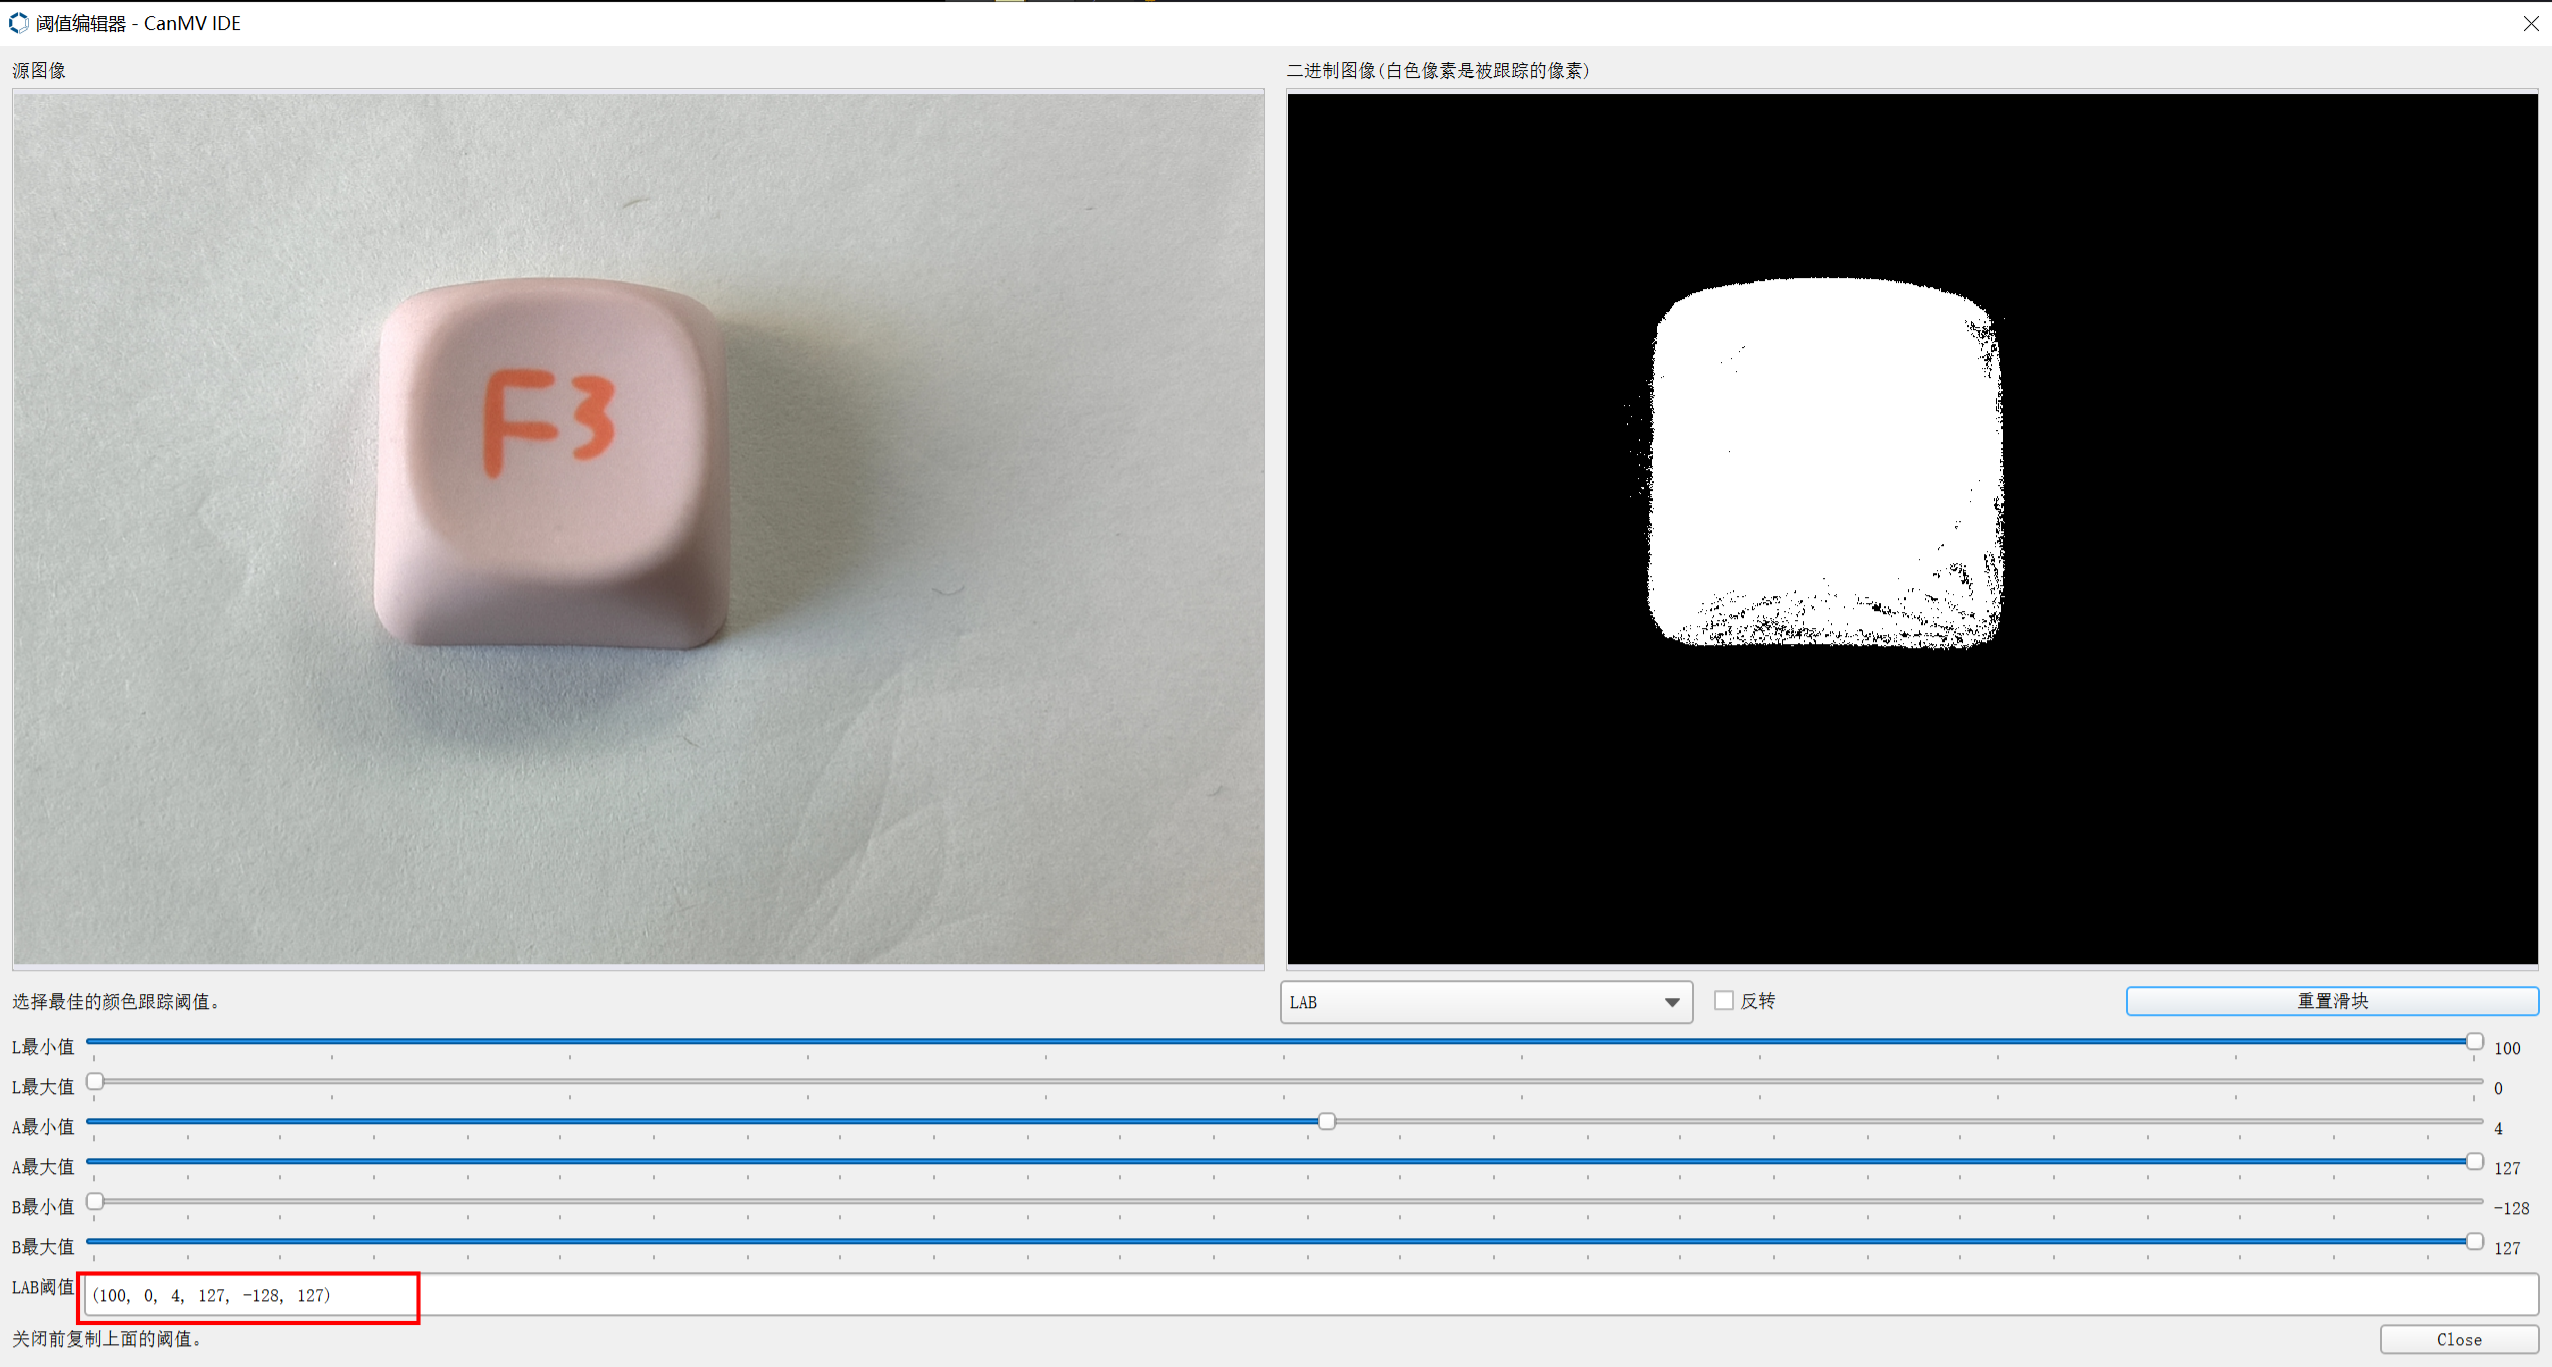
- Select an image containing the color to add, or an image captured under your current lighting (preferably with a clean background and no color interference).
- Adjust the sliders until the target color region is entirely white and all other regions are black. Record the resulting LAB thresholds.
- Add the obtained thresholds to the source code as shown below.
color_thresholds = [
    (31, 69, 27, 58, 14, 36),# Red
    (14, 61, -39, -6, 0, 14),# Green
    (14, 66, 1, 38, -56, -12),# Blue
    (49, 77, -8, 52, 16, 60),# Yellow
    (LAB values to add)# Custom LAB values — modify as needed
]
color_strings = ['Red', 'Green', 'Blue', 'Yellow','Custom color to add'] # Modify as needed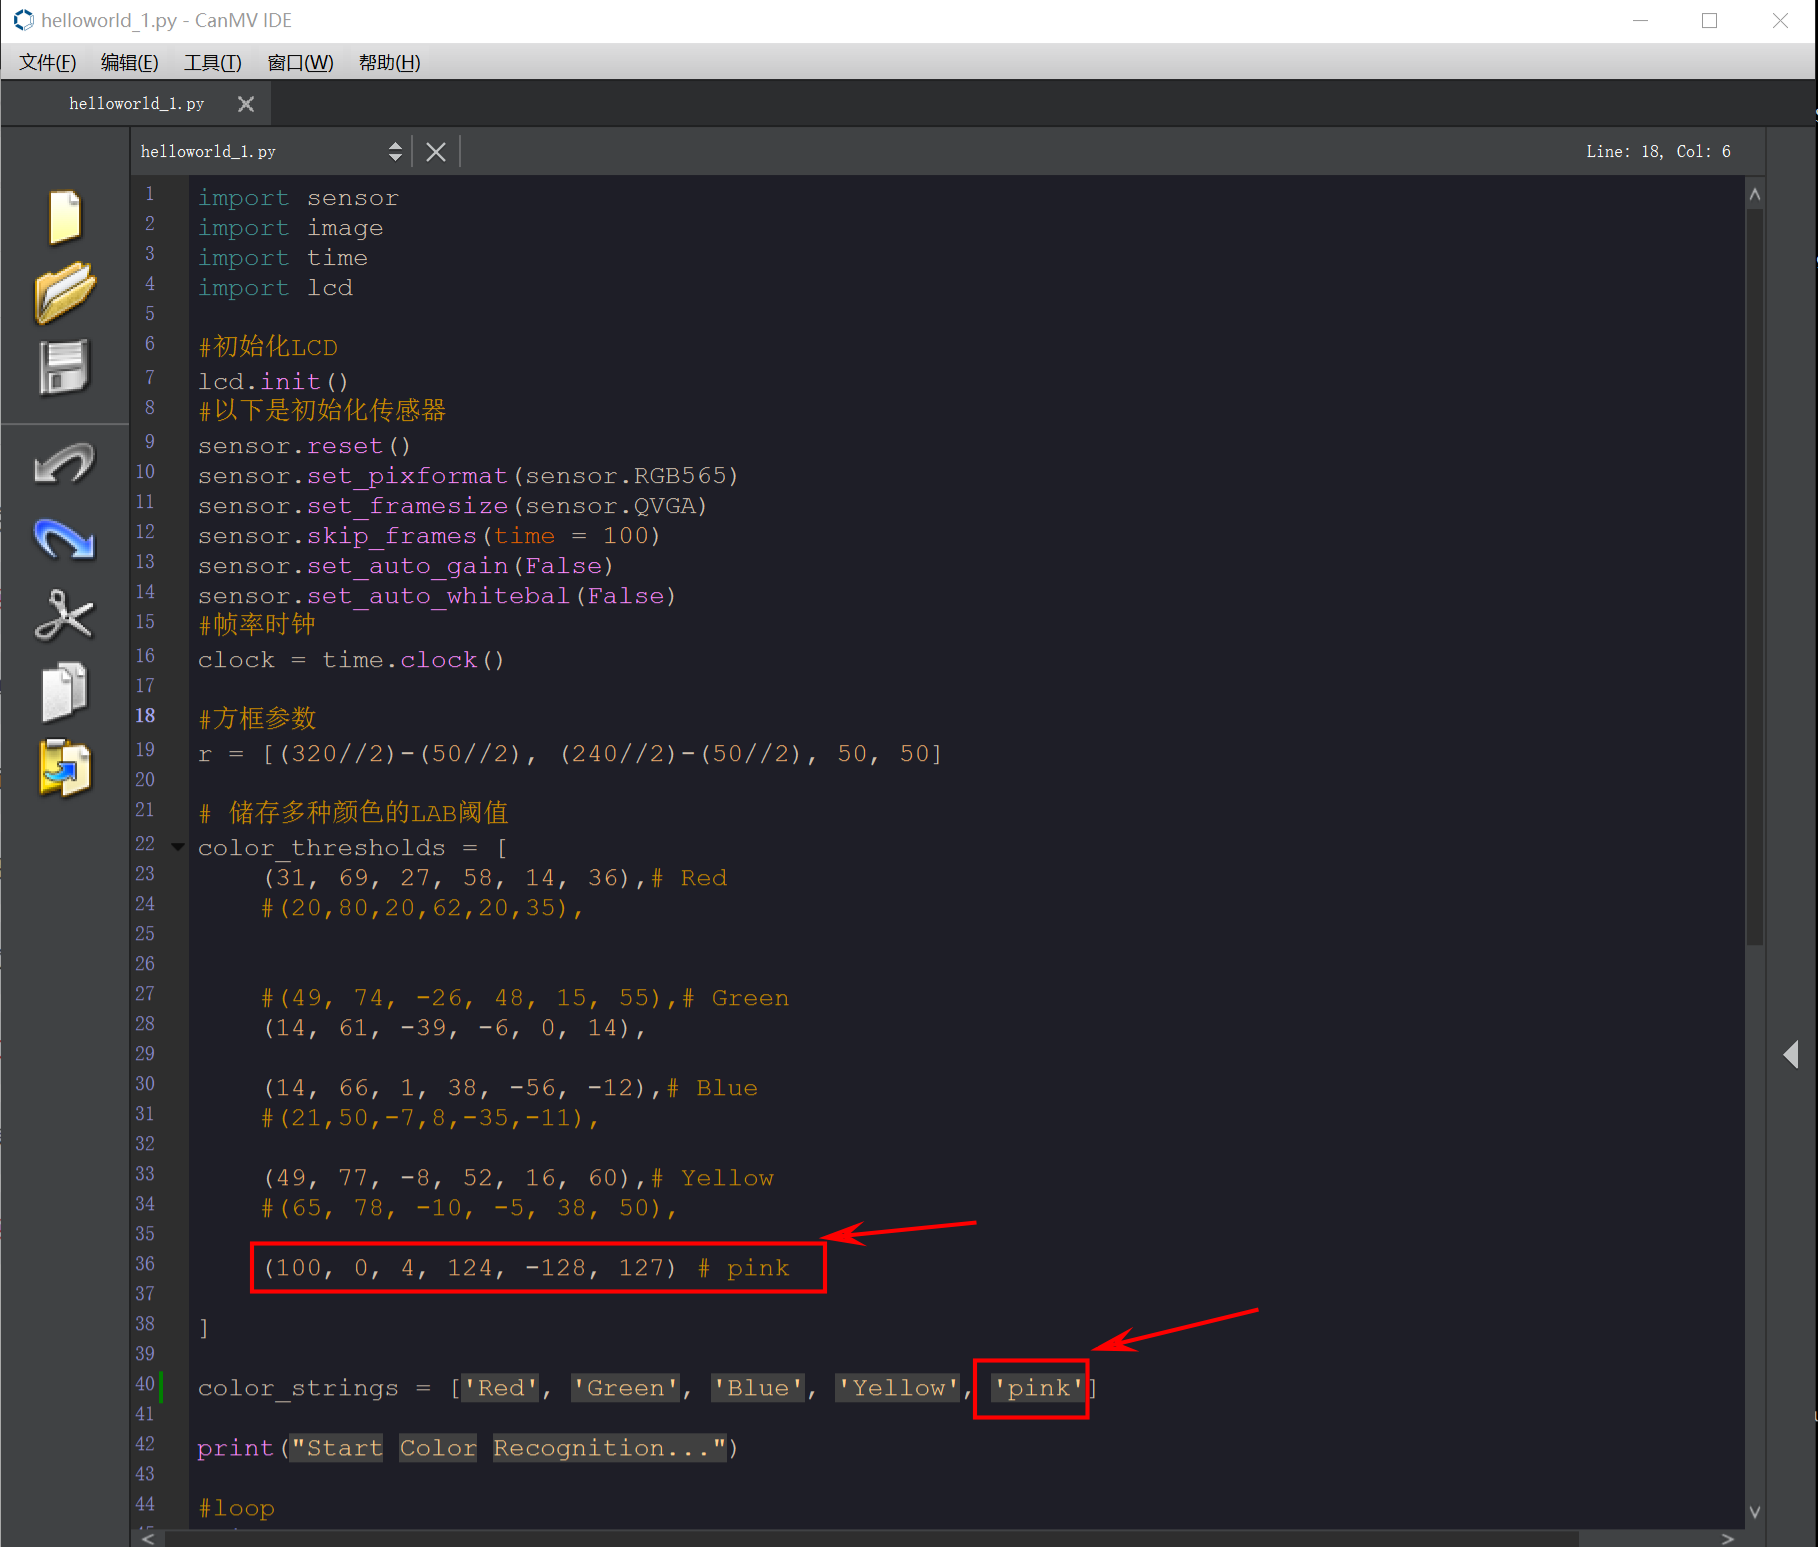
- Run the updated multi-color recognition program. The K210 recognizes the newly added color.